Ok, let’s dive right back in.
I’ve been printing a fair amount of assets, mostly floors, and I still need to glue a lot of them and paint even more so for now I’m going to pause the printing.
My use of “base pegs”
In the instructions for the floors (which I honestly can’t even find now) Devon writes that you print the base of choice, install the magnets in the base if you go that route, and then glue the floor to the base.
This means that I need eight magnets – and in my case they cost roughly 43 US cents (or roughly 39 EU cents) a piece – and also as a base for every floor, wall, door, window and so on. For the basic set Devon mentions that you need 376 magnets, totaling roughly 160 USD / 145 EUR for a complete set in magnets alone.
As I mentioned in one of my earlier posts, I couldn’t get my magnets to work properly so I’m actually skipping them even though they absolutely would be the best option if I could get them to work. None the less, I’d prefer to not have to print and paint more bases than necessary.
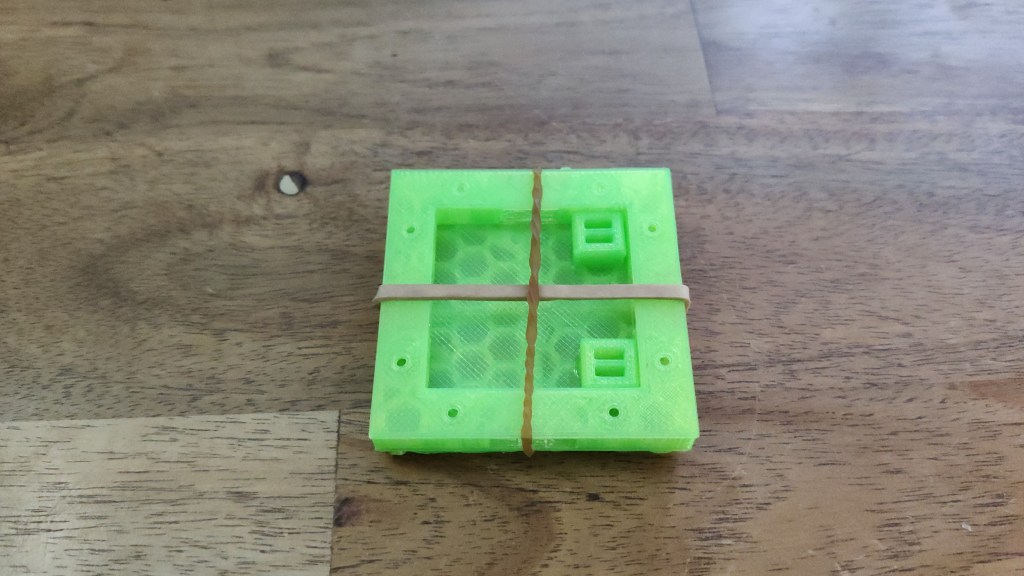
So, in an attempt to minimize the number of assets I need to print and paint I’ve devised a different way of gluing things together by using “base pegs” (to differentiate them from the “wall pegs” that are used on some walls).
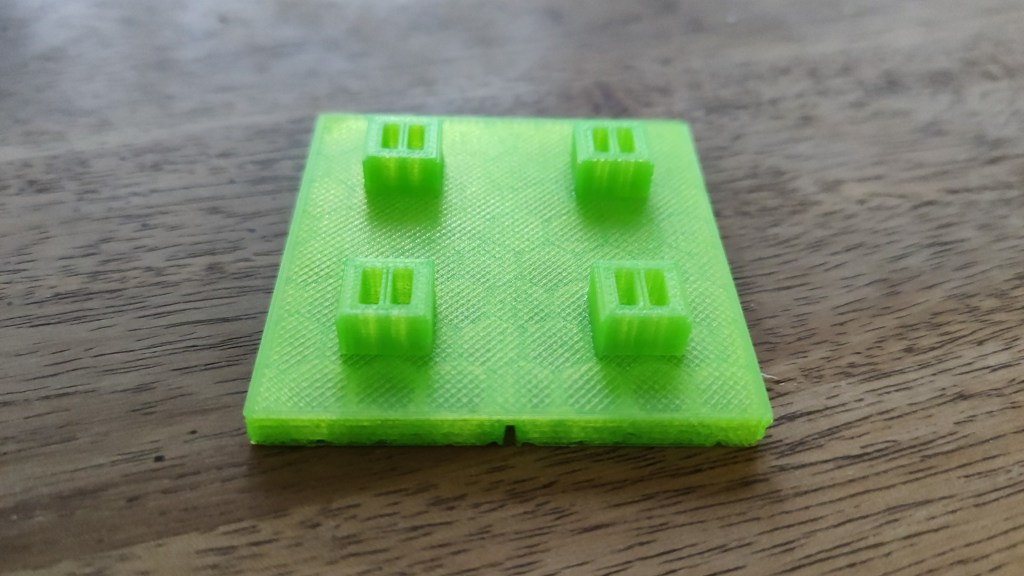
I use rubber bands to hold the base and the floor tile together and then glue a peg in each of the four corners of the floor tile using superglue, being careful to use as little glue as possible to minimize the risk of inadvertently gluing the floor to the base.
This allows me to use a single set of bases for all of my floors, walls, doors, etc. This is the reason I’m only printing Plain bases as they can be used for all sets without looking out of place.
Broken floors
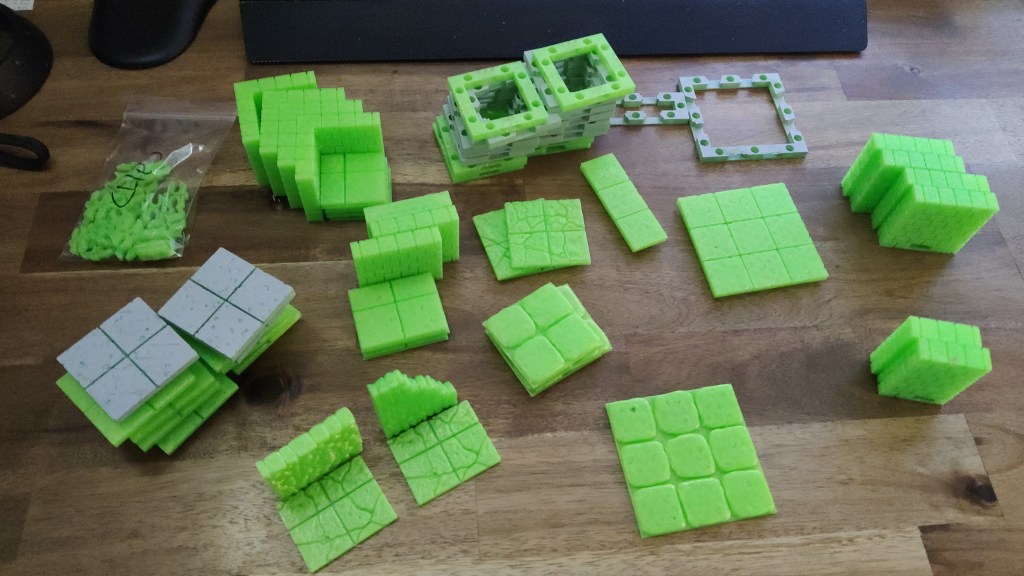
With a number of Cut-stone assets printed, as well as a few Dungeon stone, I wanted to diversify my set by printing some Rough stone and Ruined stone assets. Unfortunately, this was just as confusing as before.
In the set guide for Rough and Ruined stone the links to the floors on Thingiverse both point to the same collection. This collection contains two sets of floors, broken and ruined.
I’m guessing that broken is the same as Rough since I can’t find any mention of “rough” in the collection.
For these sets Devon put in some extra effort to make the floors look much more organic.
The floor tiles in this set have a first – there is a pattern they all fit into, or you can jumble them. When I do the textures for the huge 6×6 floors, I’ll make the pattern be infinite repeating. This release contains 9 2×2 floors, which cover all the possible positions 2×2 can be in this pattern. I personally recommend printing all of them to give a widely varying floor.
This is a great touch. The problem is that in this collection I can only find two assets of the “E” (2 x 2 inches) size of the Rough (broken) stone floor; broken_stone_floor.floor.inch.2×2.h,stl and broken_stone_floor.floor.inch.2×2.i.stl. As for the Ruined stone floor, there are four variations; a, d, e and f.
Never mind! When doing a bit more sleuthing to try and get to the bottom of this it turns out that Thingiverse isn’t including all of the files in their “one-click download” functionality. Downloading the individual files works as intended though.
What about walls?
For the walls, we also have one collection with Rough (broken) and Ruined in it, although with a different take on things. There are only Rough floors and no Rough walls, only Ruined walls (as well as Ruined floors).
In this case Devon pulled out all the stops though and the variety is truly impressive. We have twenty-four different floor tiles – including the nine variations of the “E” size floor – for both Rough and Ruined. These range from 1 x 1 to 4 x 4 in a number of different combinations.
On top of this he’s produced eighteen walls that not only differ in size but also height. For the 1 x, 3 x and 4 x walls there is one asset for low height, one for minimal height and one for full height.
For the 2 x walls there are the same three assets as for the other size of walls but also transitions from full to low, full to minimal, minimal to full, minimal to low, low to full and low to minimal.
This makes it a whole lot easier to build the scenario you want and adds a very organic look to the walls. I’ve only printed a few of these but I can absolutely see the potential.
That’s it for the moment
I’ve run out of time and superglue so I’ll stop here. Hopefully this is of use to some of you that wants to get started with OpenForge, which I absolutely think you should.
Thanks for reading.
